Showing posts with label Pop Up Box. Show all posts

Friday, 31 July 2020

Tool Box


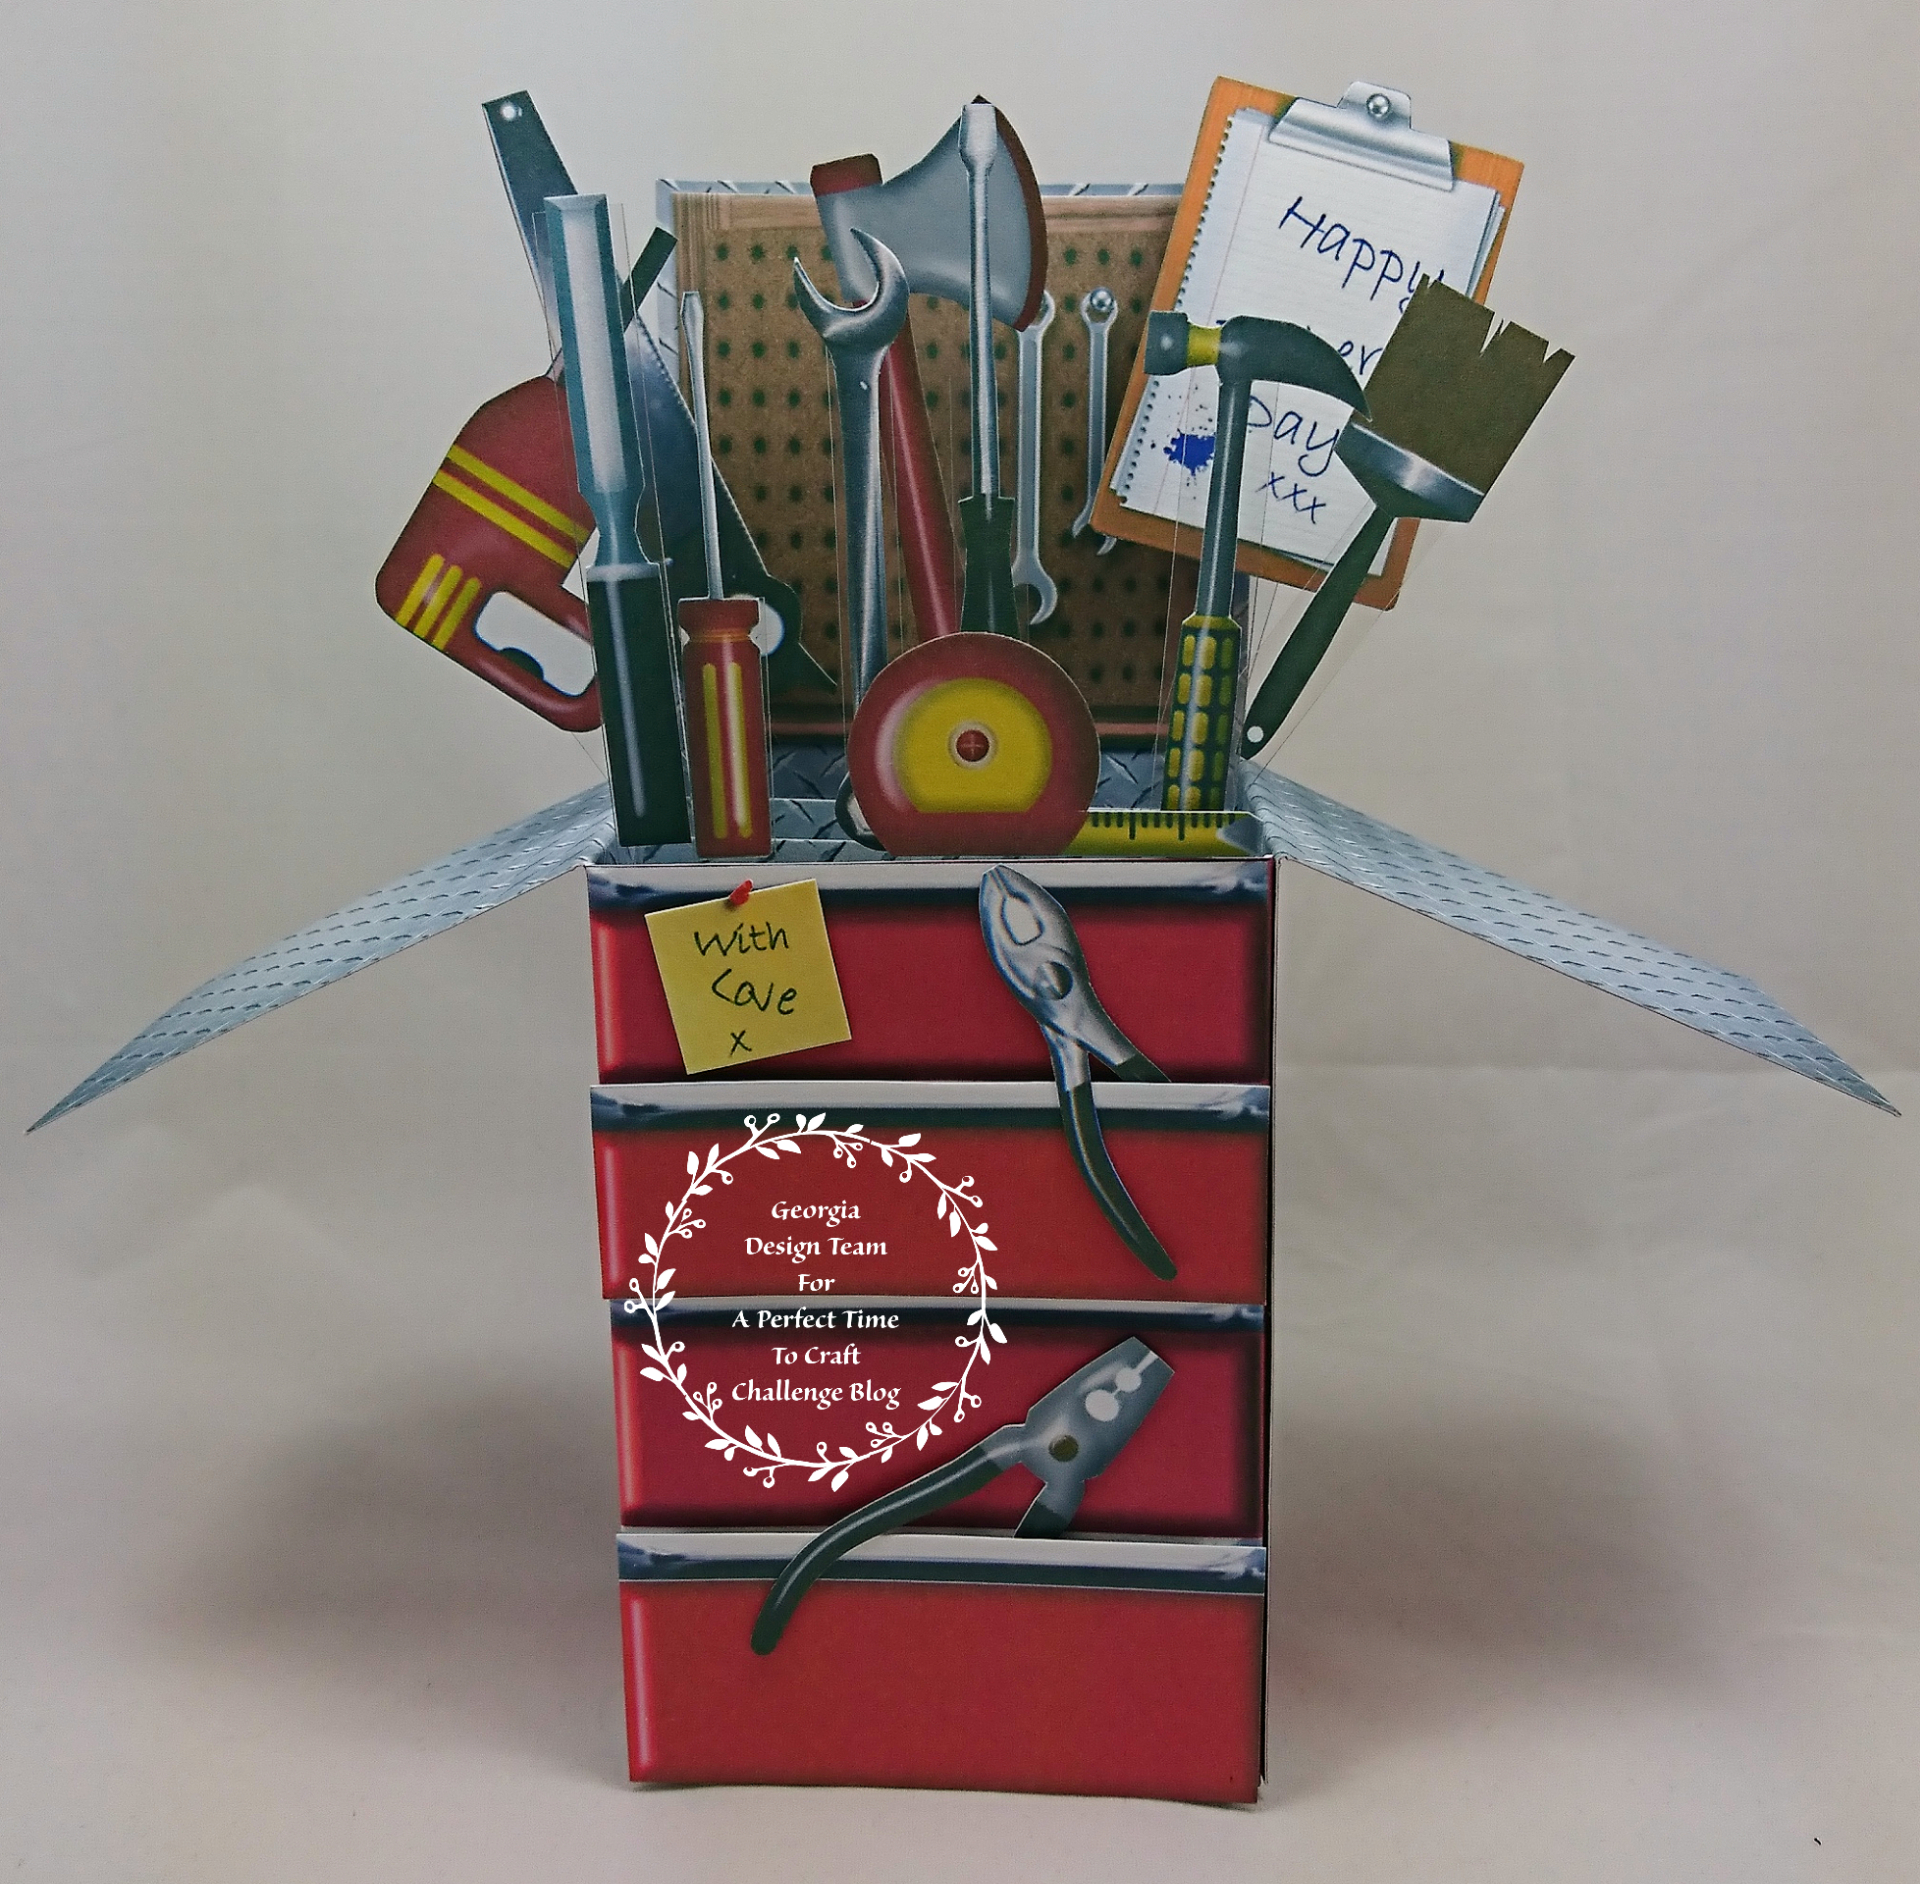
Hey everyone! I've been quiet this month as I've taken a bit of a break but today I'm back with my inspiration for A Perfect Time To Craft Challenge. Why not check our challenge out we have some amazing prizes up for grabs every month! Our sponsor this month is CraftsUPrint. They have so many amazing kits to chose from but I ended up choosing this awesome All Tooled Up Pop Up Box kit. It's perfect for the men in your life! I decided to use mine for Father's Day.


I downloaded the kit and printed out all of the sheets on to white card. The only pieces of the kit I didn't use was the black hammer, paint tin and two of the drawers. To start I took my scissors and fussy cut out all of the tools. Putting them to one side I used my scissors to cut out the tool box. Then I used my score board to score along the dotted lines and folded it in to shape. 

For the front of my tool box I wanted the bottom and second drawer to pop out so I stuck them on using sticky pads. Then I used glue dots to stick a pair of pliers in to each of the drawers. To finish the front off  I used glue dots to secure the sticky note on to the top drawer. For the back of my tool box I used double sided tape to stick the cork board on to it.


Next I scored the three dividers and used glue to stick the left tabs of the dividers on to the left side of my tool box. Then I took my guillotine and cut out some acetate strips. Using glue I stuck a strip on to the back of each of the tools. I decided to stick the measuring tape and red screwdriver to the front of my tool box. I stuck the spanner, chisel and hammer on to the first divider.

 Next I stuck the drill, black screwdriver and paint brush on to the second divider. Then I stuck the clip board, saw and axe on to the back divider. Now the tool box is full I put glue on to the right tabs of the dividers and the tool box tab. I then stuck them all together. That's my tool box done. I was super happy with how the kit turned out. I hope you enjoyed it. Thanks for looking!


Supplies used to make this card - 


I am entering this card in to the following challenges - 


Friday, 12 June 2020

The Nightmare Before Christmas


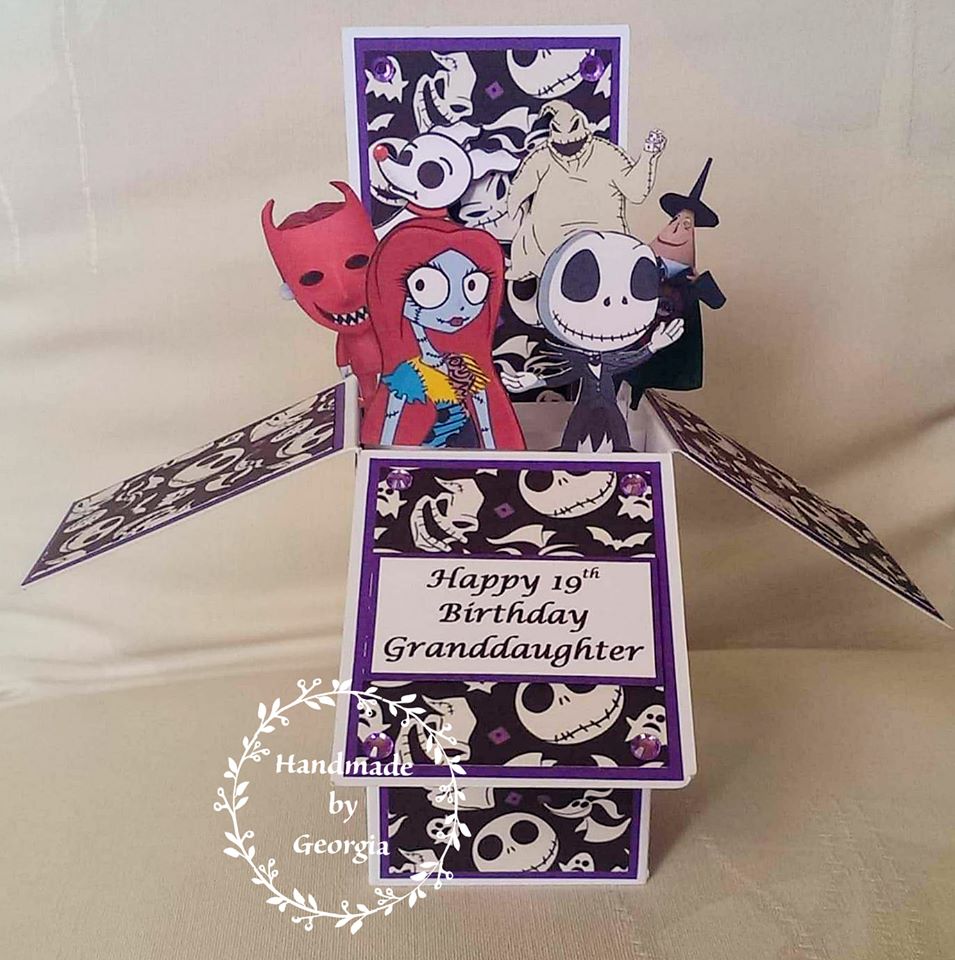
Hey everyone! I'm back today with my inspiration for Creative Fingers Challenge Blog. We have a great prize up for grabs so why not get crafting and try your luck. For my inspiration I wanted to try another fun fold card I've never made before so I chose a Pop Up Box. I justed loved making this card it was super fun and the end result just looks amazing! The recipient of the card is a massive The Nightmare Before Christmas fan so I ran with that theme for this box. I'm going to link a video tutorial on how to make one and a link to a written tutorial as I used a card blank for this card.


I've had pop up box card blanks in my stash for ages so I decided to use one of them for this card. My card blank measured 20cms by 28cms plus a extra 1cm for my tab. I started by measuring out my purple matting. I had three pieces measuring 11cms by 6.5cms, six pieces measuring 8cms by 6.5cms and one piece measuring 19.5cms by 6.5cms. Once I cut them all out using my scissors I used double sided tape to stick them all on to my card blank. 

For my backing paper I printed off this lovely black, white and purple nightmare before christmas design. Next I measured out three pieces at 10.5cms by 6cms, six at 7.5cms by 6cms and one piece at 19cms by 6cms. Again I cut them out with my scissors and used double sided tape to stick them all on to my purple matting. That's my card blank decorated.


For the inner walls of my box card I measured and cut out three pieces of white card measuring 11cm by 9.2cms. I scored each one downwards at 1cm and 8.2cms. Once folded I used double sided tape on one side of each piece and stuck them to the right inside part of my card blank. To fill my box I took six characters from A Nightmare Before Christmas - Jack, Sally, Oogie Boogie, Mayor, Devil Kid and Zero. I used my scissors to fussy cut them all out. 

I then used my guillotine to cut out six strips of acetate. I used glue dots to secure one piece of acetate on to the back of each character. I used glue dots to secure the acetate strip on Jack and Sally to my first inner wall. I then used them to secure the acetate strip on Devil Kid and Mayor to my second inner wall and the acetate strip on Zero and Oogie Boogie on to my third inner wall.


I put double sided tape on to the other side of my inner walls and the tab on my card blank and stuck it all together (not as easy as it looks lol). I printed out 'Happy 19th Birthday Granddaughter' and cut it out. Then I matted it with purple card. I used glue dot to secure it on to the front flap of my card. To finish my box off I add two purple gems on to the back piece of my box and four on to the front flap of my card. That's it! I hope you enjoyed it. Thanks for looking!


I am entering this card in to the following challenges -


Fighter Planes

Hey everyone! Today I'm back with my August inspiration for Creative Fingers Challenge Blog . This months challenge is running for four ...